

Homemade Roasted Beef Stock

A good homemade beef stock is one of those kitchen staples I always love having on hand. Rich, savoury and full of flavour, it’s the foundation for beautiful soups, hearty stews, sauces and slow-cooked favourites.

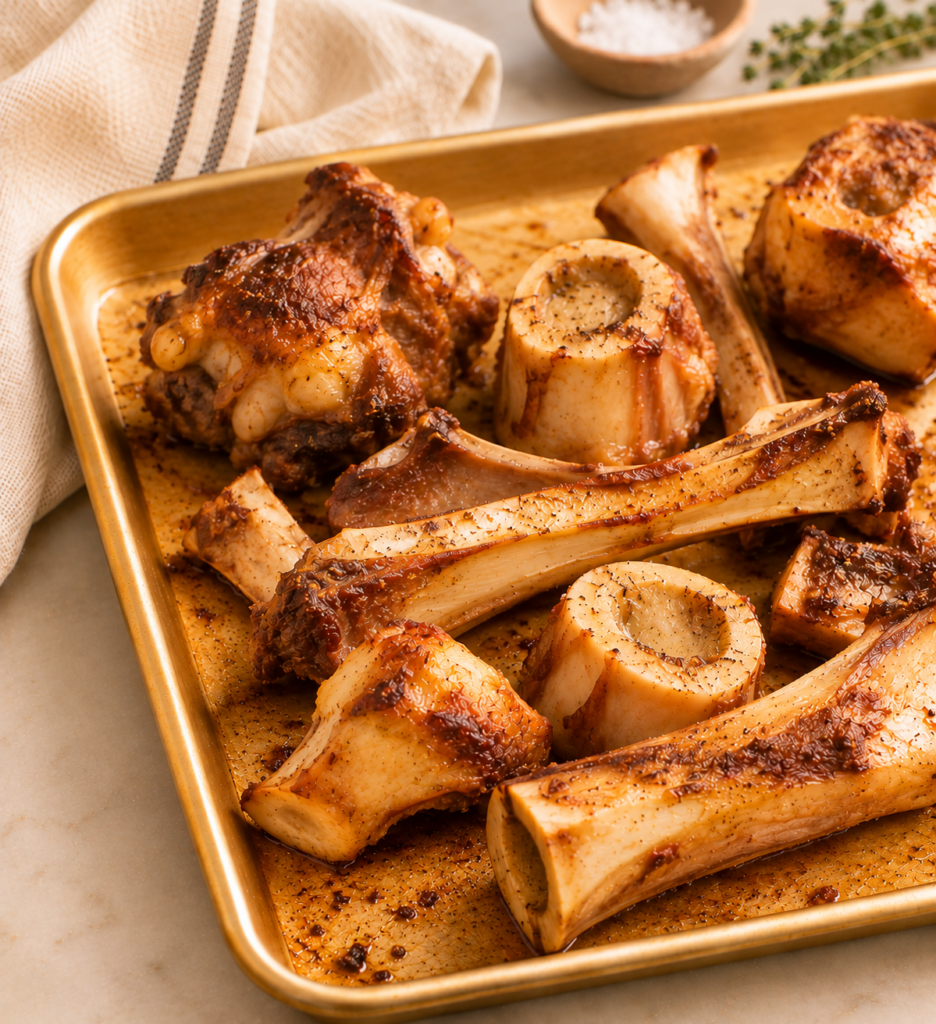
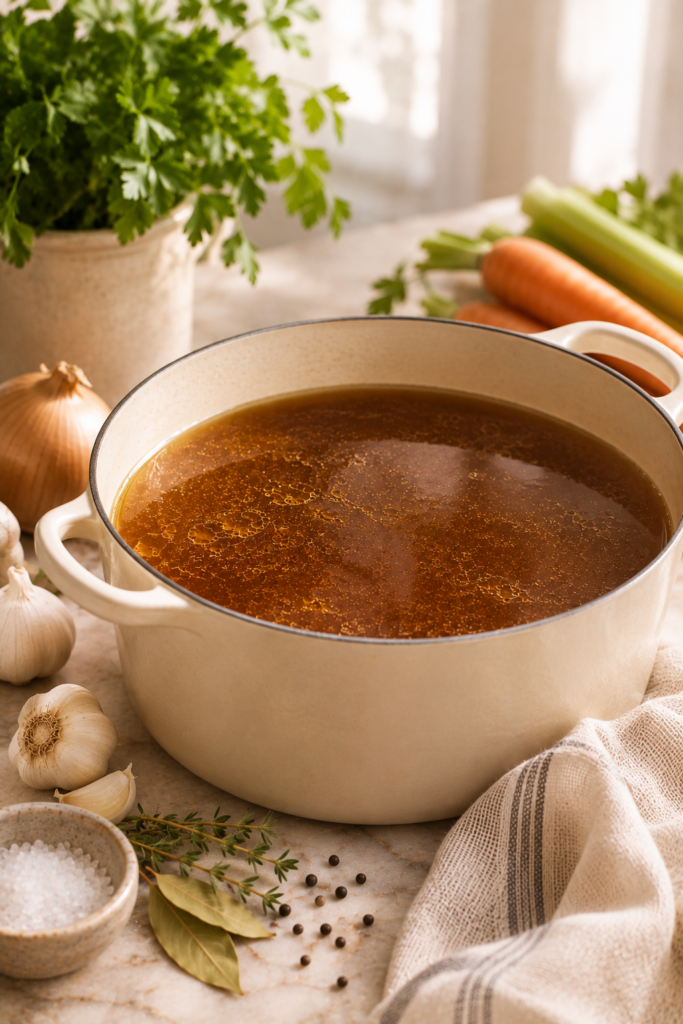
I always roast my beef bones before making stock. It’s an optional step, but one I never skip. Roasting brings out a wonderful depth of flavour and gives the finished stock its beautiful, rich colour. From there, everything goes into one big pot with fresh vegetables, herbs and water, and simmers gently for a few hours.

I like to make a generous batch and keep it in the freezer. Having homemade stock ready to go makes cooking from scratch so much easier, especially on busy weeknights.
A Few Tips for Making Great Beef Stock
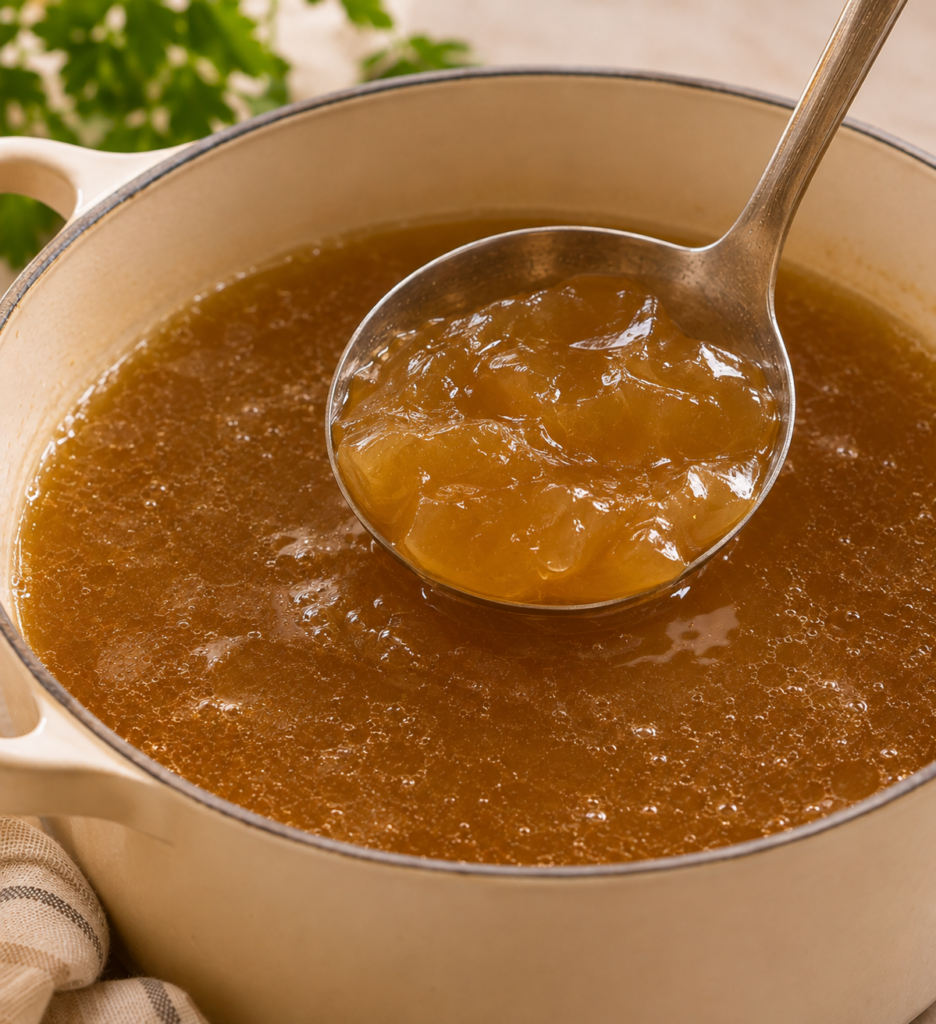
  • Start with good bones. I like a combination of marrow bones for richness and meaty bones for flavour. If you can find knuckles or joints, add a few. They’re naturally rich in collagen, which breaks down into gelatin as the stock cooks.
  • Roast the bones, not the vegetables. I roast my beef bones at 375°F for one hour, turning halfway through. The vegetables go directly into the stockpot. It’s a simple step that makes a noticeable difference in the finished stock.
  • Skim the foam. Bring everything to a boil and skim away the foam that rises to the surface. Then reduce the heat and let the stock simmer gently for about 3½ to 4 hours. There’s no need for a vigorous boil.
  • A splash of apple cider vinegar. I always add a little to my stockpot. It’s traditionally used to encourage the extraction of minerals and collagen from the bones, although the effect of a small splash is likely modest.
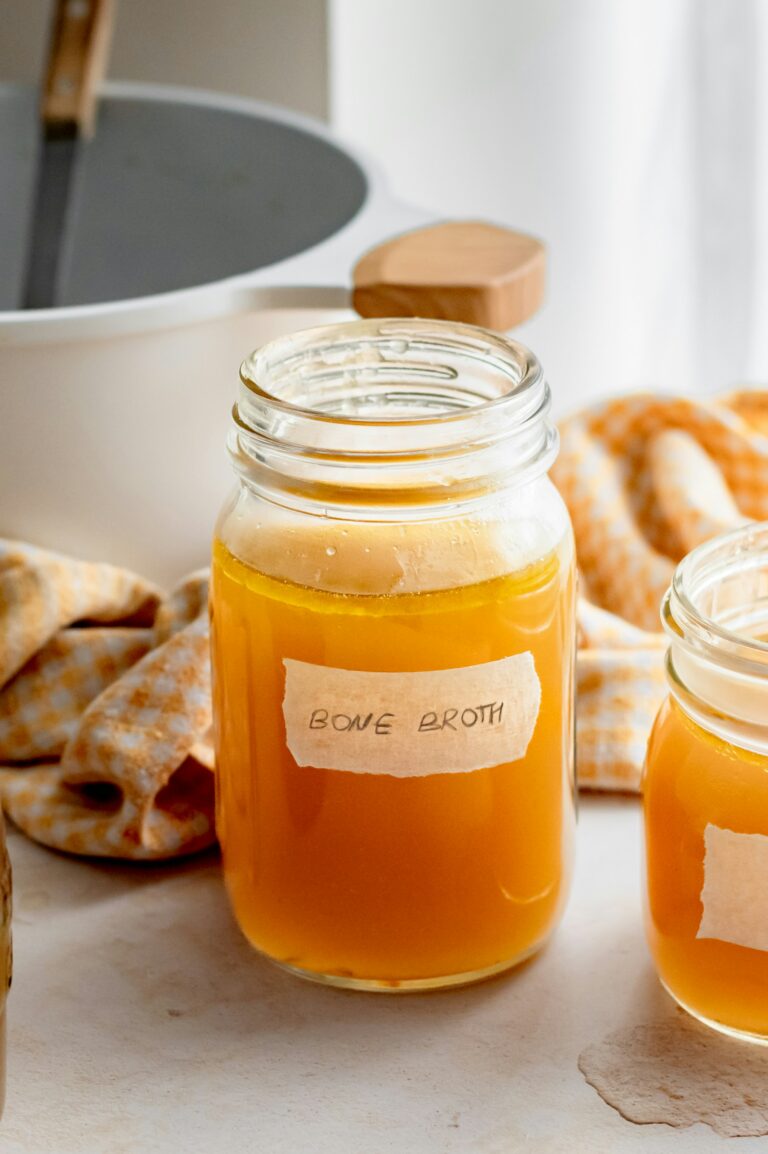
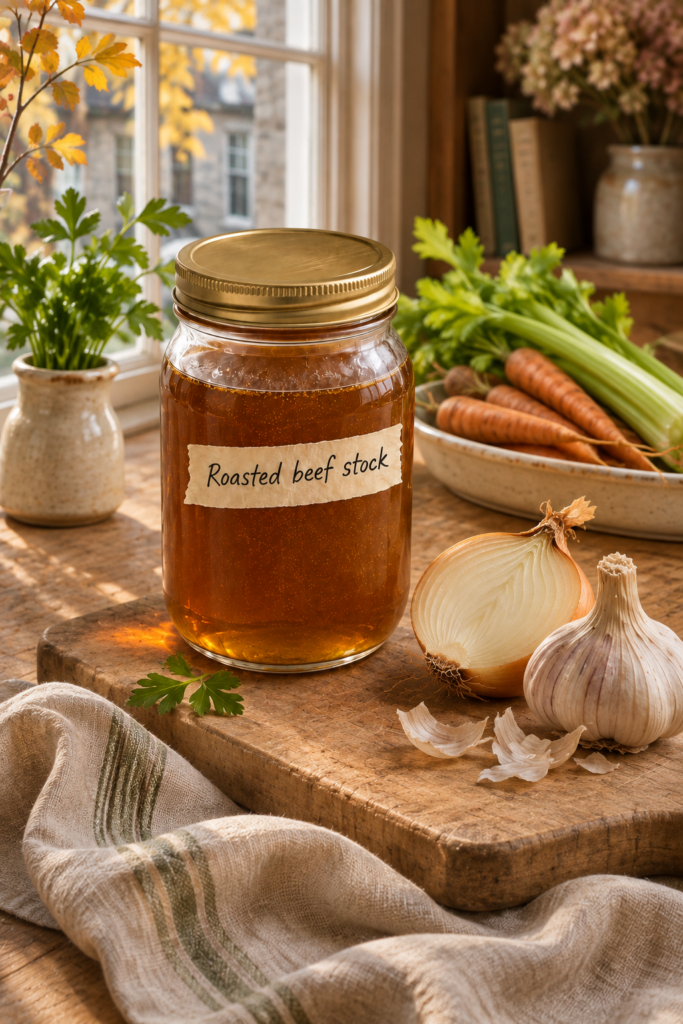
  • Refrigerate before freezing. This is one of my favourite tricks. Once the stock has been strained, cool it quickly and refrigerate it overnight. The fat rises to the surface and hardens into a solid layer, making it incredibly easy to lift off with a spoon. From there, portion the stock into containers and freeze.

The Secret to a Beautifully Gelatinous Stock

One of the lovely things about homemade stock is finding that it’s turned into a soft jelly after a night in the refrigerator.

That’s gelatin, which forms when collagen from the bones and connective tissues breaks down during cooking. It gives stock a beautiful body and richness, particularly when used in soups and sauces.

If you’re hoping for that gelatinous consistency, the bones you choose make a difference. Marrow bones are wonderful for flavour and richness, but knuckles, joints and other collagen-rich bones are especially good for gelatin. Using just enough water to cover the bones also helps keep the finished stock concentrated.

But here’s the important part: your stock doesn’t have to gel to be good.

Sometimes it will set beautifully, and other times it will remain liquid. It depends on the bones, the amount of water and how much gelatin has been extracted during cooking. It also won’t gel when it’s warm.

If your stock tastes rich, savoury and delicious, you’ve made a good stock. The gelatin is a lovely bonus, not the only measure of success.

Frequently Asked Questions

Traditionally, stock is made primarily from bones, while broth is made with meat and vegetables. Stock tends to have more body because of the gelatin extracted from the bones. In everyday cooking, however, the two terms are often used interchangeably.

I generally simmer mine for about 3½ to 4 hours after roasting the bones, but you can go longer. This produces a beautifully flavourful stock without leaving a pot on the stove all day. Longer cooking can extract additional gelatin, particularly from collagen-rich bones, but it isn’t essential for a delicious result.

The most common reasons are the types of bones used, the amount of water added and the cooking time. If you’re using mostly marrow bones, your stock may have wonderful flavour without developing much gelatin. Try adding knuckle or joint bones next time.

I prefer to remove most of it before freezing. Once the stock has chilled in the refrigerator, the fat hardens on the surface and can be lifted away easily. You can always leave a little behind for flavour.

Absolutely. In fact, that’s how I store most of mine. I like to freeze stock in a combination of small and large portions, so I can take out just what I need for a sauce, soup or stew. For best quality, use within six months.

Properly cooled and stored in an airtight container, homemade beef stock will keep for approximately 1 week in the refrigerator. If you aren’t planning to use it within that time, freeze it.

A Little Preparation Goes a Long Way

Making homemade stock is one of those small kitchen habits that pays off again and again. It takes a little planning, but very little active work, and there’s something wonderful about opening the freezer and knowing the foundation of your next meal is already there.

Whether it’s a comforting soup, a Sunday roast or a simple sauce for dinner, good homemade stock makes all the difference.
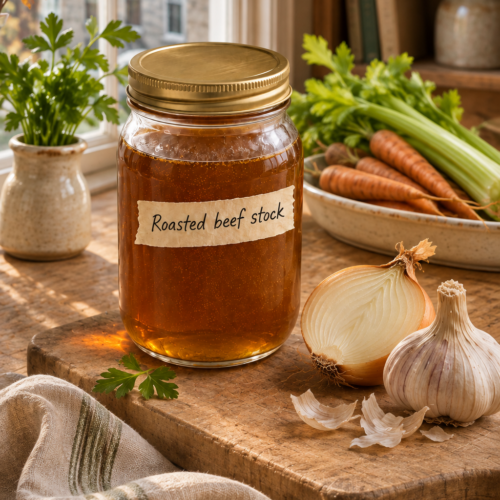
Homemade Roasted Beef Stock

A rich, savoury homemade beef stock made with roasted bones, fresh vegetables and simple aromatics, gently simmered to bring out its deep, comforting flavour.
Prep Time:15 minutes
Cook Time:4 hours

Ingredients

  • 6 –8 lb 2.7–3.6 kg beef bones, preferably a mix of marrow and meaty bones
  • 2 medium yellow onions quartered
  • 4 medium carrots cut into large chunks
  • 3 celery stalks cut into large chunks
  • 1 whole head of garlic halved crosswise
  • 3 –4 sprigs fresh parsley
  • 2 bay leaves
  • 10 whole black peppercorns
  • 1 tbsp apple cider vinegar
  • sea salt to taste
  • 24 cups cold water or enough to cover

Instructions

  • Roast the bones. Preheat the oven to 375°F (190°C). Arrange the beef bones in a large roasting pan and roast for 1 hour, turning halfway through, until nicely browned.
  • Prepare the stockpot. Transfer the roasted bones to a large stockpot. Scrape up the browned bits, pouring everything into the pot.
  • Add the vegetables and aromatics. Add the onions, carrots, celery, garlic, parsley, bay leaves and peppercorns. Pour in the cold water, add a splash of apple cider vinegar and season lightly with kosher salt or sea salt.
  • Bring to a boil and skim. Bring the stock to a boil, skimming away the foam and impurities that rise to the surface.
  • Simmer gently. Reduce the heat to low and simmer gently, uncovered, for approximately 3½–4 hours. Add a little water as needed to keep the bones mostly submerged.
  • Strain the stock. Remove from the heat and carefully strain through a fine-mesh sieve, discarding the bones and vegetables. Taste and adjust the seasoning as needed.
  • Cool and store. Cool quickly in an ice bath, then transfer to airtight containers. Refrigerate for up to 3–4 days or freeze for up to 6 months.
Notes

Roasting is optional, but I always do it. I roast the bones on their own at 375°F for a full hour, turning halfway through. It gives the stock a deeper flavour and beautiful colour, without adding much hands-on work.
A little apple cider vinegar. I add a splash to the pot to encourage the extraction of gelatin and minerals from the bones. Its effect is modest, but it’s a simple addition to the recipe.
Skim before simmering. Once the stock comes to a boil, skim away the foam that collects on the surface before lowering the heat. This helps keep the finished stock clearer.
Season to taste. I like to add a little kosher salt or sea salt as the stock cooks, then adjust the seasoning once it’s finished. Start lightly, especially if you plan to use the stock in sauces or recipes where it may reduce.
Don’t worry if it doesn’t gel. A stock that firms up in the refrigerator has extracted a good amount of gelatin, but the result depends largely on the bones you use. Knuckles, joints and other collagen-rich bones will generally produce a more gelatinous stock than marrow bones alone.
Make extra for the freezer. Freeze in different portions, from small amounts for sauces and pan gravies to larger containers for soups and stews. It’s one of my favourite ways to make everyday cooking a little easier.

You'll Also Love

Leave a Reply

Your email address will not be published. Required fields are marked *

Recipe Rating